Tips & Tricks For Block Print Cards
As the holidays approach, now is the time to think about the "DIY" part of gifting. Carving one linoleum block can produce hundreds of gifts. Greeting cards, gift tags, bunting flags, and even your own wrapping paper - all can be created with lino blocks! Here is a quick guide to make a basic linoleum ("lino") block carving.

You will need:
Lino block - for this article, I used "speedy cut." It's great for beginners, & cuts very easily. (Found at art/craft stores)
Lino cutter handle & nibs - I find having small, medium and large nibs suits my needs best. (Found at art/craft stores)
Ink - you can use a stamp pad if your image is small enough, or you can use a block printing ink.
Brayer - If you're using an ink (rather than a stamp pad), you will need a brayer to roll out the ink. A brayer is a very smooth, solid roller, that will apply even pressure across your carving, so that you get a nice crisp finish! (Found at art/craft stores)
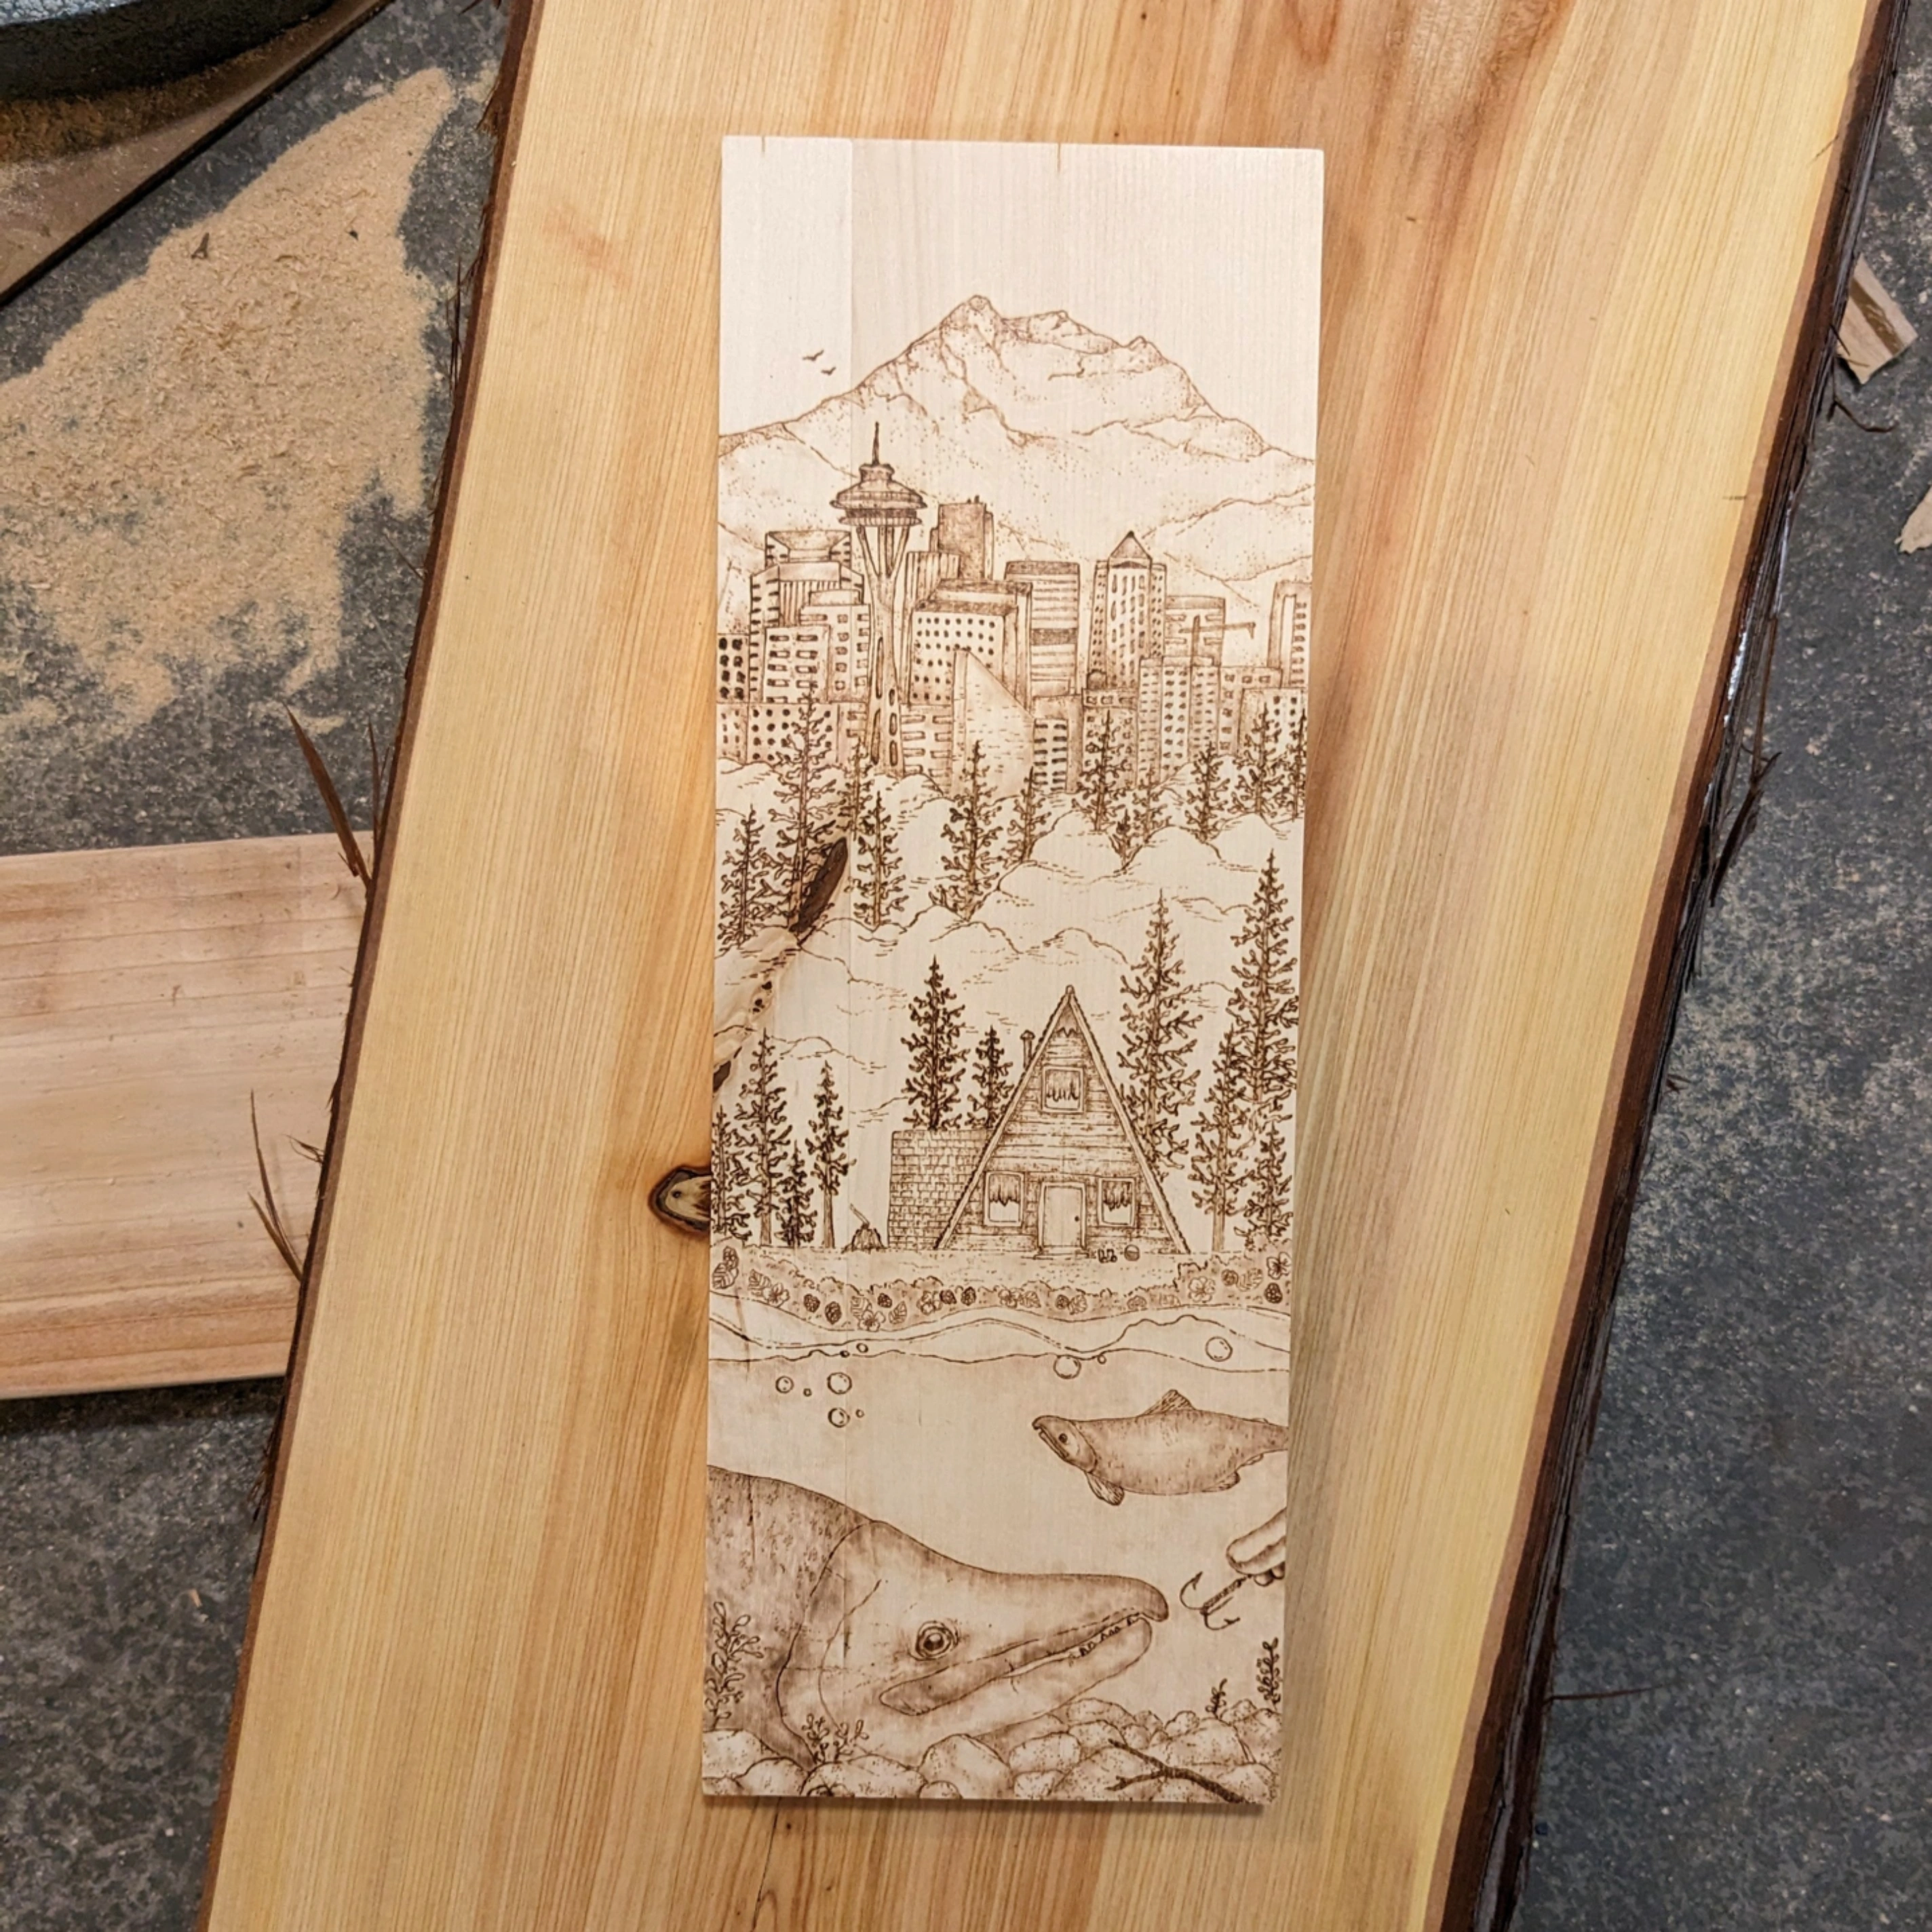
I begin by creating a drawing. I try to create a pretty exact drawing. A drawing is like a map, the better map you have, the more likely you're going to get to your destination.
After creating a drawing I'm happy with, I reverse the drawing. When you print, your image is mirrored, so I start with mirroring my drawing so I end up the orientation I originally started out with. This is especially important if you use any words in your design, so they come out the right direction when you print!
I mirror the drawing by taping the drawing (drawing side down) to a window. Then, I trace the drawing on the back of the paper. Once I have the drawing traced, I turn it back over and put a heavy layer of graphite over the top of the original drawing.
I then put the graphite side down against my block, tape it in place and trace over the traced drawing. The graphite will transfer wherever you press down with your pencil. Once I have my drawing transferred, I usually go back with a soft pencil and do a little bit of editing or fine tuning directly on the block.
Now you are ready to carve. Always carve away from yourself - safety is important. If you have a bench hook (like the one shown here) I recommend using it. They are quite simple to make and use, and will help to keep your block from moving around as you carve.
I start with my smallest nib. I carve an outline around my design. When I carve, I tend to leave a bit more than needed, and then take away more later if I feel like it.
Once I have an outline, I use the larger nibs to take away the bulk of my image.
Much of carving is creating positive and negative space that stands out and "reads" well (you can clearly and easily see what the image is, once it's done). Sometimes you need to think about texture, more than shapes. Instead of carving a tree, you carve the texture of the tree. And yes - carving strokes matter. Make each cut in the direction of the texture you want to emphasize.
If you want to preserve your drawing on your block but want a glimpse at your progress, you can do a rubbing of your block. You can use a piece of graphite or the long side of a crayon.
Once you're done carving, you are ready to print. If your block is small enough, you can use a stamp pad. Or, if you want the full printmaking experience you can ink up with a brayer (the printing roller). Whichever way you choose, it's always magical to see the first ink up, and print. You can use the palm of your hand to press on the paper, or you can use a wooden spoon.
Good luck and have fun with it! - Laurel Henn
You can always find Laurel's beautiful linoleum block prints down at Splash Gallery, but you can also see more by following her on Facebook or Instagram, or visiting the LaurelsArt website. (And, if you're looking for a cool gift idea, she's even got a collection of prints in her 2019 Calendar!)